I recently spoke to a classroom full of kids, taught them to draw a T. rex, and survived to tell the tale.
My old friend Rick Lepage (old and nearly forgotten friend – we hadn't seen each other in over twenty years!) contacted me via Facebook and invited me to give a presentation at the library where he works. It would be a relatively small group of interested kids (they would need to sign up for the class) and Rick promised to protect me if I completely bombed.
Dinomite!
My illustration of Eosinopteryx that appeared in Highlights magazine.
My presentation would be about dinosaurs. That decision was a no-brainer; I've been contributing dinosaur illustrations to Highlights Magazine for a few years – and what kid doesn't like dinosaurs! I planned to talk about how I create a dinosaur illustration, from sketch to final painting. Rick told me that hands-on activities were popular, so I offered to also teach the kids how to draw a T. rex.
Easy-peasy-lemon-squeezy, right? Wrong. When I draw, it's messy. I draw a LOT of lines searching for the form and pose (imagine a rat's nest). If I was going to teach a group of kids how to draw a T. rex, I'd need a concrete strategy. Every line, from first to last, would need to be methodically planned and calculated – or there would be chaos.
O Captain! My Captain!
Lights! Camera! Ascot! Captain Bob in his sea shanty.
My mentor Captain Bob showed me the way. Bob Cottle was a Boston television personality who hosted Drawing from Nature in the 70s. The show was broadcast at the ungodly hour of 5am and I followed along bleary-eyed as he showed us, the children of New England, how to draw animals both familiar and exotic. I remember drawing a polar bear that I gave to my first-grade teacher Mrs. Brown. For years afterwards, Mrs. Brown would see my mother and tell her that the polar bear was framed and still hanging in her home. It was a source of pride for everyone involved.
Captain Bob started his drawings with simple shapes (ovals, cylinders) to establish the basic structure of an animal. He would then define the form, add features, and lastly, add a flourish of detail. This approach appealed to me because it can be used to draw anything!
Onions Have Layers
Applying Captain Bob's approach, I plotted my drawing demonstration. I used Photoshop to help me track and record each line of my dino-drawing process:
Screen capture of my Photoshop file and layers palette.
- In Photoshop, I drew my T. rex on a layer.
- I reduced the opacity of that layer, making it barely visible.
- On a new layer, using the finished T. rex as a guide, I drew ovals to mark the hips, torso and head.
- I created another layer, and drew lines connecting the torso and head ovals -- this would be the neck.
- On another new layer I drew the top of T. rex's head.
- I continued until I had broken down all the steps onto separate layers.
Drink N' Draw

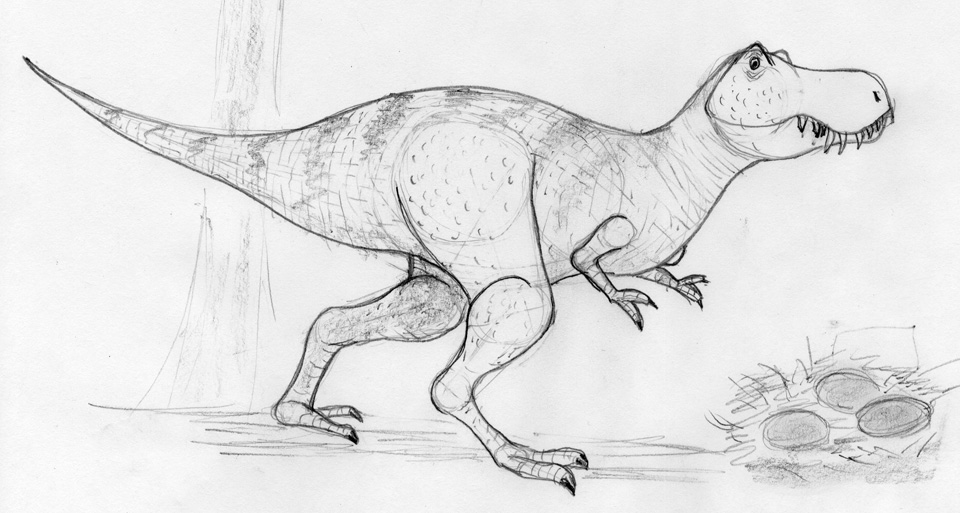
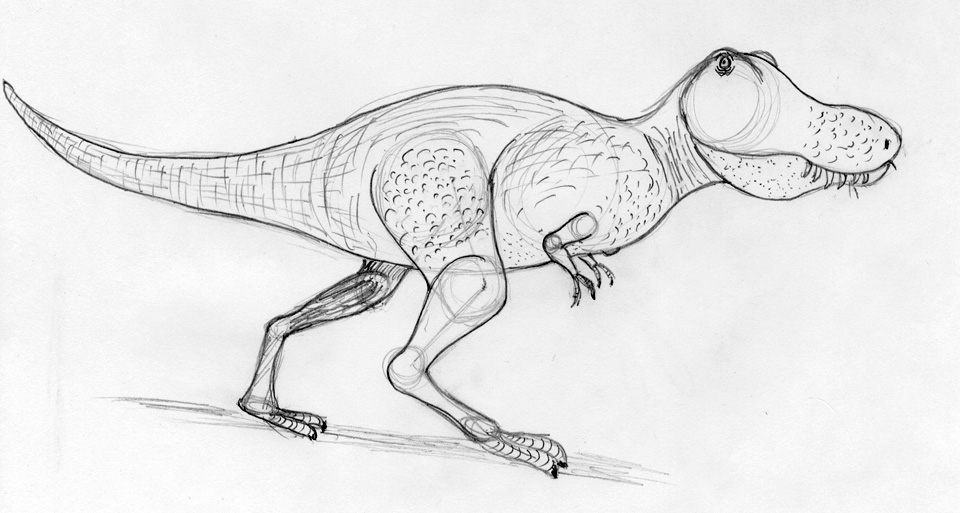
Bob and Jessica humoring me by drawing T. rex.
But would it work? Could I actually teach a classroom of kids to draw T. rex? Could I teach ANYONE to draw T. rex?
While dining at our local British pub, I sprung a surprise drawing lesson on my wife Jessica and our friend Bob (not to be confused with Captain Bob). They were willing if not eager guinea pigs. The results were great!
Maybe I'd pull this off after all...
Next: Creating the Slideshow